

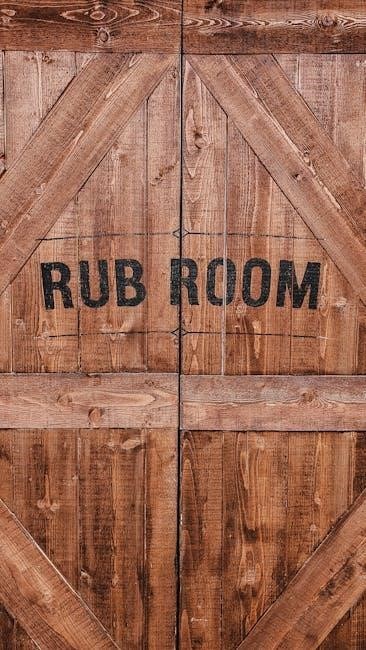
Downloadable PDF guides provide step-by-step instructions for barn door installation, including hardware assembly, track mounting, and door alignment. These manuals ensure proper installation, covering pre-installation checks, tools required, and troubleshooting tips for a seamless setup.
Pre-Installation Checks
Before starting the installation, conduct a thorough pre-installation check to ensure a smooth process. Begin by inspecting the barn door and hardware for any damage or defects. Verify that all components, such as hangers, brackets, and tracks, are included in the kit. Measure the doorway to confirm the door’s dimensions match the opening, allowing for the recommended gap of 3/8 inch at the bottom. Check the wall type (wood, concrete, or drywall) to determine the appropriate anchors or fasteners needed. Ensure the wall studs are located and marked accurately, especially for heavy doors. Verify that the floor is level; if uneven, note the measurements for adjustments during installation. Gather all necessary tools, such as a drill, wrench, and level, and consult the manufacturer’s instructions for specific requirements. Finally, ensure the installation area is clear of obstructions and wear protective gear, such as gloves and safety glasses, to prevent accidents. Completing these checks ensures the installation proceeds safely and efficiently.
Measuring the Doorway and Planning the Layout
Accurate measurement and planning are critical for a successful barn door installation. Start by measuring the doorway’s width, height, and any obstructions, such as molding or baseboards. The door’s width should typically be 2-4 inches wider than the doorway to allow for proper clearance. Measure the wall space above the door to ensure there is enough room for the track system, typically requiring 12 inches above the door height. Check the floor for any unevenness, as this may affect the door’s alignment. Plan the layout by marking the wall studs where the track will be mounted, ensuring they are level and spaced correctly. Consider the door’s swing direction and clearance from adjacent walls or objects. Use a level and pencil to mark the installation points for the track and hardware. Double-check all measurements to avoid errors during installation. Proper planning ensures the barn door operates smoothly and fits seamlessly within the space. Always refer to the manufacturer’s specifications for specific layout requirements.
Preparing the Wall and Floor for Installation

Before installing your barn door, ensure the wall and floor are properly prepared. Locate wall studs using a stud finder to secure the track system, as barn doors are heavy and require sturdy support. If studs are not aligned with the track’s placement, install a header board or additional blocking for reinforcement. For the floor, check for levelness and evenness to ensure smooth door operation. If floor guides are being used, mark their positions based on the door’s dimensions and ensure they align with the door’s hangers. Clean the wall surface where the track will be mounted, removing any paint or wallpaper to ensure a secure fit. If necessary, sand or scrape the area for a smooth installation. Additionally, clear any obstructions, such as baseboards or molding, to accommodate the track system. Gather all necessary tools, including a drill, level, and concrete anchors for securing floor guides. Double-check the alignment of the track, hangers, and floor guides before drilling to ensure proper functionality. Proper preparation ensures a safe and smooth installation process.
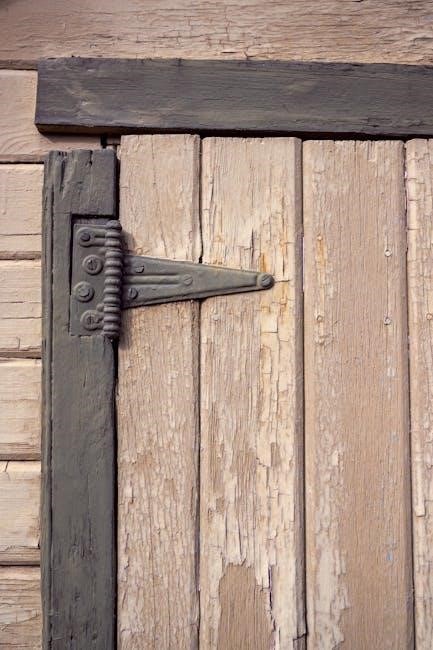
Hardware Installation
Install hangers and brackets to the door using bolts, washers, and acorn nuts. Mount the track system on the wall, ensuring it is level and securely fastened to studs for proper functionality.
Attaching Hangers and Brackets to the Door
Begin by drilling 7/16-inch holes at the specified distances from the top of the door for the hangers. Insert the hanger bolts through the back of the door, securing them with washers and acorn nuts on the front. Tighten firmly with a wrench. Next, install the cane bolts on the inside of the door, offsetting them from the center. Attach the brackets to the bottom of the door to accommodate the cane bolts, ensuring they extend into the concrete floor below. Drill a 5/8-inch hole into the concrete for proper anchorage. Align all hardware components carefully to ensure the door hangs level and operates smoothly. Double-check the alignment before final tightening. Refer to the manufacturer’s manual for specific measurements and torque specifications. Properly securing these elements is crucial for the door’s stability and functionality.

Installing the Track System on the Wall
Begin by locating the wall studs to secure the track system properly. Install a header board above the doorway if necessary, ensuring it is level and aligned with the door’s height. Mount the track system 1-3/4 inches above the door opening, spacing it evenly from the doorway to allow for smooth door movement. Drill pilot holes into the wall studs and secure the track using lag bolts, tightening them firmly to ensure stability. For concrete walls, use anchor bolts to prevent loosening over time. Double-check the track’s level and alignment before final tightening. Ensure the track is spaced correctly to accommodate the door’s width and swing direction. If installing on drywall, use wall anchors for added support. Refer to the manufacturer’s specifications for exact measurements and torque requirements. Proper installation of the track system is critical for the door’s smooth operation and long-term durability. Always use appropriate tools and safety gear during this process.
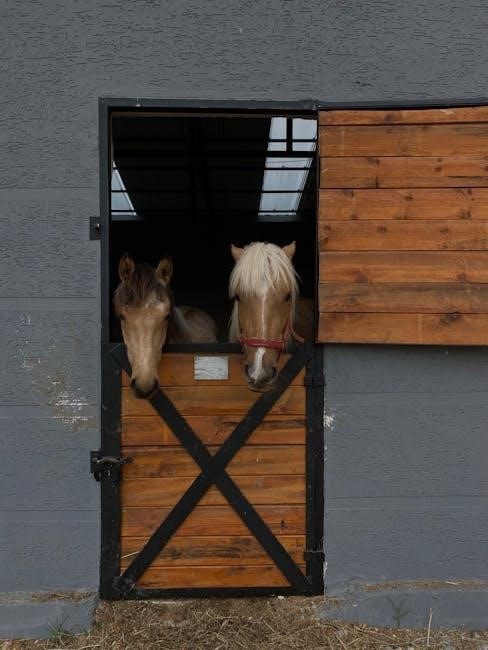
Door Assembly and Alignment
Assemble the door by attaching hinges and hardware, ensuring proper alignment. Use a level to confirm the door is straight and evenly spaced. Secure the door to the track system, adjusting as needed for smooth operation and proper fit.
Mounting the Door and Ensuring Proper Leveling
Mounting the door begins by attaching the hangers to the door frame, ensuring they are evenly spaced and aligned. Use a level to verify that the door is perfectly horizontal. If the floor is uneven, adjust the hangers to compensate, ensuring the door hangs straight. Secure the hangers to the track system on the wall, double-checking that all bolts are tightly fastened. Proper leveling is crucial for smooth operation and to prevent the door from dragging on the floor. Once mounted, test the door by sliding it back and forth to ensure it moves effortlessly. Make any necessary adjustments to the hangers or track to achieve optimal alignment and leveling.
Adjusting and Securing the Door in Place
Once the door is mounted, adjust its position to ensure proper alignment with the track and surrounding frame. Use a wrench to tighten the acorn nuts on the hangers, ensuring the door is secure and evenly spaced from the wall. Check the door’s movement by sliding it along the track; it should operate smoothly without catching or dragging. If necessary, adjust the hangers slightly to achieve proper leveling and alignment.
Ensure the track system is firmly anchored to the wall studs and that all bolts are tightened to prevent any shifting. Double-check the door’s clearance on both sides and at the bottom to maintain consistent spacing. Once satisfied with the alignment, secure all components firmly in place. Finally, test the door’s operation multiple times to confirm it moves effortlessly and remains stable when stopped. Proper adjustment and securing are critical for long-term durability and smooth functionality of the barn door system.