Welcome to the Brother Sewing Machine Repair Manual PDF, your comprehensive guide to troubleshooting, maintaining, and repairing Brother sewing machines. This manual provides detailed instructions, diagrams, and tips to help you diagnose and fix common issues, ensuring your machine runs smoothly. Whether you’re a novice or experienced user, this resource empowers you to perform repairs confidently and safely. Explore the sections to learn about essential tools, disassembly steps, and maintenance tips tailored for Brother models.
1.1 Understanding the Importance of the Manual
The Brother Sewing Machine Repair Manual PDF is an essential resource for maintaining and repairing your sewing machine. It provides detailed guidance, troubleshooting solutions, and maintenance tips, ensuring optimal performance. This comprehensive guide empowers users to address common issues independently, saving time and money. With step-by-step instructions and diagrams, it covers various Brother models, making it a versatile tool for both novice and experienced users. Regular use of this manual helps extend the machine’s lifespan and ensures professional-level repairs.
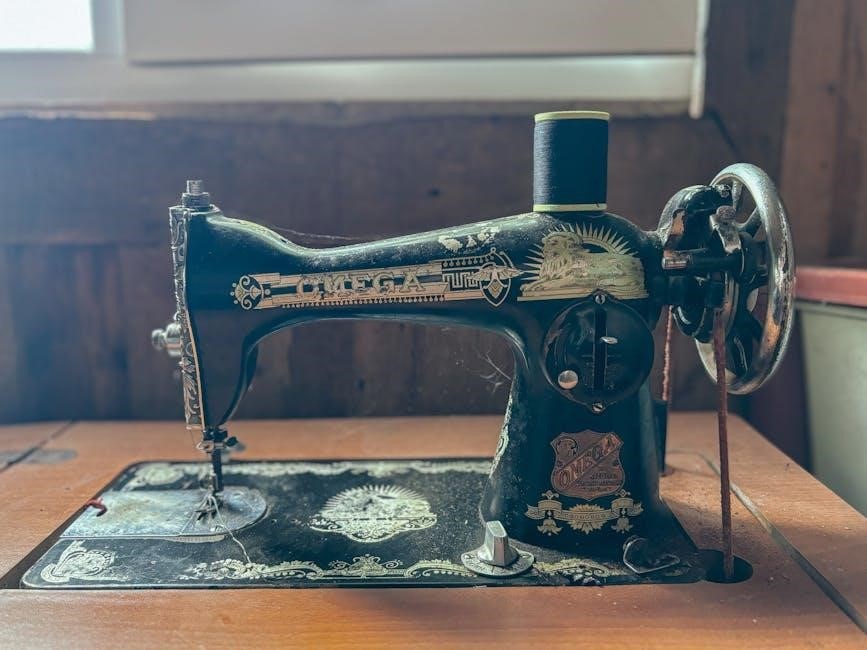
1.2 Overview of the Brother Sewing Machine Series
The Brother Sewing Machine Series offers a diverse range of models designed for various sewing needs. From basic mechanical machines to advanced computerized models, Brother caters to both hobbyists and professionals. Popular models include the CS6000i, SE600, and BL7800, each featuring unique functionalities like embroidery, quilting, and heavy-duty stitching. This series is known for its durability, user-friendly interfaces, and innovative features. Understanding your specific model’s capabilities and requirements is crucial for effective repairs and maintenance, as outlined in the repair manual.
How to Download the Brother Sewing Machine Repair Manual PDF
Visit the official Brother website and navigate to the “Support” or “Downloads” section. Enter your sewing machine’s model number, which can be found on the machine. Select the repair manual PDF from the available downloads, choose your language, and click download. Ensure you have sufficient storage space and verify the file’s integrity after downloading. For assistance, refer to the help section or contact Brother customer support if issues arise.
2.1 Steps to Access the Manual from Official Sources
Visit the official Brother website and navigate to the “Support” section. Enter your sewing machine’s model number in the search bar to locate the repair manual. Select the appropriate language and click “Download.” Depending on your model, you may need to create a Brother account or verify your details. Once downloaded, ensure the file is in PDF format and compatible with your device. Always verify the manual’s authenticity by cross-referencing the official Brother website to avoid counterfeit versions.
2.2 Verifying the Authenticity of the Manual
To ensure your Brother sewing machine repair manual is authentic, start by downloading it directly from the official Brother website. Look for the Brother logo and professional formatting. Check that the content includes specific model details, safety precautions, and accurate technical information. Cross-reference the manual’s content with other official Brother documents to confirm consistency. If unsure, contact Brother’s customer support for verification. Avoid using manuals from unofficial sources to maintain reliability and safety.
Essential Tools for Repair
Gather screwdrivers, pliers, and tweezers for disassembly. Use the Brother sewing machine service manual for specific tool recommendations. Ensure proper equipment to avoid machine damage.
3.1 List of Required Tools and Equipment
To repair your Brother sewing machine, gather essential tools: flathead and Phillips screwdrivers, needle-nose pliers, tweezers, a seam ripper, lint brush, small oil brush, and safety glasses. A clean, well-lit workspace is crucial. Specialized tools like spool pins or bobbin hooks may be needed for specific models. Refer to the Brother sewing machine repair manual PDF for exact tool recommendations to ensure safe and effective repairs. Optional tools like a magnifying glass or torque wrench can enhance precision and ease.
3.2 Safety Precautions Before Starting Repairs
Before repairing your Brother sewing machine, ensure safety by unplugging it from the power source. Wear protective eyewear and gloves to prevent injuries from sharp parts. Work in a well-lit, stable environment, keeping loose clothing and long hair tied back. Avoid forced movements that could damage components or cause accidents. Always refer to the manual for specific precautions. Be cautious with electrical components and never attempt repairs near water or in humid conditions. Safety is paramount to protect both you and your machine.
Understanding Machine Parts and Controls
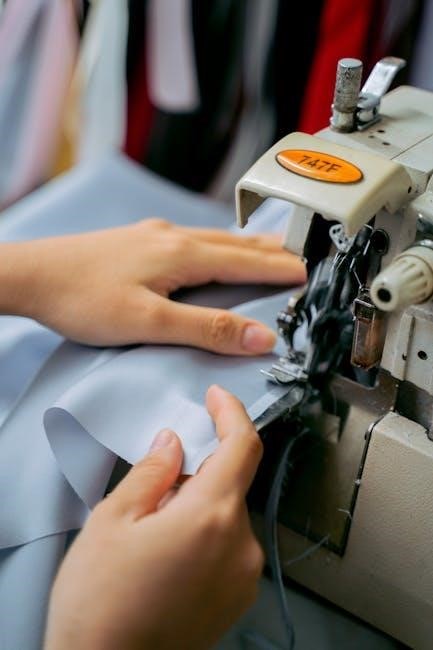
Understand your Brother sewing machine’s components and controls. Familiarize yourself with the needle, bobbin, thread guides, and stitch selectors. These elements are crucial for smooth operation and repairs. Ensure proper functioning by following the manual’s guidance on each part’s role and maintenance.
4.1 Basic Components of the Sewing Machine
The Brother sewing machine consists of key components like the needle, bobbin, spool pins, and thread guides. The needle bar, hook assembly, and feed dogs are essential for stitching. The tension discs regulate thread tightness, while the stitch selector and length dial customize sewings. Understanding these parts is crucial for troubleshooting and maintenance. Refer to the manual’s diagrams for clear visual identification and guidance on each component’s function and proper care.
4.2 Functions of Key Controls and Dials
The Brother sewing machine features intuitive controls that simplify operation. The stitch length dial adjusts the length of each stitch, while the width dial modifies the stitch width. The tension dials regulate the thread’s tightness, ensuring even stitching. The reverse stitch lever reinforces seams, and the feed dog switch controls fabric movement. The manual provides detailed explanations of each control’s function, helping users optimize their sewing experience. Familiarizing yourself with these dials ensures precise control over every stitch, enhancing your sewing projects’ quality and consistency.
Common Repair Issues and Solutions
The Brother sewing machine often faces issues like fabric feeding problems, thread jams, and error codes. This section provides practical solutions to these frequent challenges, ensuring smooth operation and extending machine longevity. By addressing these common problems, users can maintain their machine’s performance and resolve issues efficiently. The manual offers clear, step-by-step guidance to help you troubleshoot and fix these issues quickly and effectively. Regular maintenance and proper care can prevent many of these problems from occurring. Detailed diagrams and instructions are included to assist with repairs, making it easier for users of all skill levels to keep their machine in optimal condition.
5.1 Troubleshooting Fabric Feeding Problems
Fabric feeding issues are common in Brother sewing machines. Check if the drop feed is lowered or the mechanical foot isn’t properly positioned. Raise the drop feed or adjust the foot to ensure correct alignment. Ensure threads aren’t tangled and the bobbin is correctly installed. Clean debris from the feed dogs and lubricate internal parts if necessary. Refer to the manual for specific adjustments and maintenance tips to resolve feeding problems effectively. Addressing these issues promptly prevents further damage and ensures smooth sewing operations.
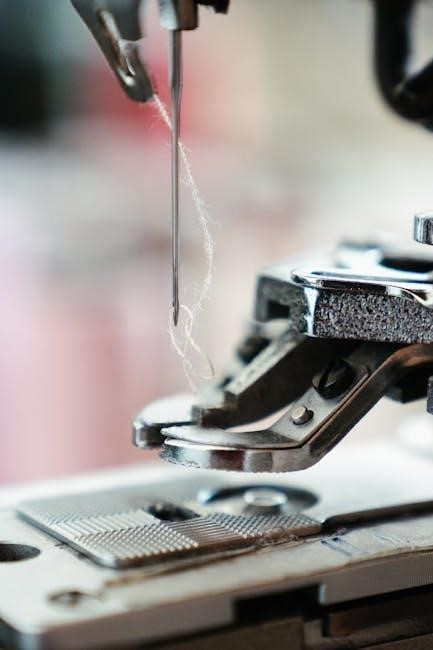
5.2 Resolving Thread and Bobbin Issues
Thread and bobbin issues are common in Brother sewing machines. Ensure the thread is properly tensioned and the bobbin is correctly installed. Check for tangles or knots in the thread and remove any debris from the bobbin area. If the machine skips stitches, inspect the needle for damage and replace it if necessary. Use compatible thread and bobbin types to avoid mismatches. Refer to the manual for specific guidance on threading and bobbin winding to resolve issues efficiently and maintain optimal sewing performance.
5.3 Addressing Error Codes and Machine Malfunctions
Error codes on Brother sewing machines indicate specific issues; Refer to the manual to understand the meaning of each code, such as Error 6, which signals a mechanical jam. Turn off the machine, unplug it, and inspect for obstructions. Clear any blockages, then reset the machine. If issues persist, check for misaligned parts or damaged components. Perform a factory reset if necessary and ensure all settings are restored to default. Regular maintenance and proper usage can help prevent malfunctions and extend machine longevity.
Step-by-Step Guide to Basic Repairs
Start by unplugging the machine and removing threads, needles, and bobbins. Use screwdrivers and pliers to disassemble carefully. Clean internal parts thoroughly, then lubricate moving components. Reassemble in reverse order, ensuring all screws are secure. Test the machine to confirm proper operation. Follow the manual’s guidance for safe and effective repairs.
6.1 Disassembling the Machine Safely
Before disassembling your Brother sewing machine, unplug it and remove any threads, needles, or bobbins. Use screwdrivers and pliers to carefully take off external panels. Start with the top or front access panels, following the manual’s guidance. Avoid forcing parts, as this could damage internal components. Keep track of screws and small parts to ensure easy reassembly. Always refer to the manual for model-specific disassembly steps to maintain safety and prevent damage to your machine.
6.2 Cleaning and Lubricating Internal Parts
After disassembling, use a soft-bristled brush or compressed air to remove dust and debris from internal components. Inspect for lint buildup, especially around the bobbin area and tension discs. Apply a few drops of sewing machine oil to moving parts, such as gears and shafts. Avoid over-lubricating, as excess oil can attract dust. Wipe off any drips with a clean cloth to prevent residue. Regular cleaning and lubrication ensure smooth operation and extend your machine’s lifespan.
6.3 Reassembling the Machine Correctly
Reassemble the machine by reversing the disassembly steps, ensuring all parts align properly. Refer to the manual for specific guidance. Reattach external panels securely, tightening screws evenly to avoid damage. Once reassembled, test the machine by sewing on scrap fabric to ensure smooth operation. Verify that all functions, such as stitching and thread tension, work correctly. Proper reassembly is crucial for maintaining performance and preventing future issues.
Advanced Repair Techniques
This section covers advanced procedures for complex repairs, including replacing the needle and hook assembly, adjusting tension, and managing electronic components. Designed for experienced users.
7.1 Replacing the Needle and Hook Assembly
Replacing the needle and hook assembly requires precision to ensure proper stitching. Start by unplugging the machine for safety. Remove the old needle and carefully detach the hook assembly using screwdrivers. Install the new needle, ensuring it’s securely fastened. Reattach the hook assembly, aligning it correctly. Refer to your manual for specific tools and diagrams. Tighten all screws firmly and test the machine to ensure smooth operation. This procedure restores optimal sewing performance and prevents further damage.
7.2 Adjusting Tension and Timing
Adjusting tension and timing is critical for maintaining optimal sewing performance. Start by unplugging the machine for safety. Use screwdrivers to access the tension discs and timing components. Refer to your manual for specific guidance, as settings vary by model. Ensure the stitch width regulator is set to “O” for straight stitches and the stitch length regulator to “O” for no feeding issues. Proper alignment and tension prevent thread breakage and ensure even stitching. Always test the machine after adjustments to confirm accurate timing and tension.
7;3 Managing Electronic Components
Managing electronic components requires precision to ensure proper machine function. Start by disconnecting power and checking for error codes like E6, which indicate sensor or mechanical issues. Use a multimeter to test electrical connections and verify circuit continuity. Consult the manual for specific reset procedures or circuit diagrams. For complex issues, consider updating firmware or replacing faulty sensors. Always unplug the machine before servicing and use an anti-static wristband to prevent damage. Refer to the manual for detailed guidance on repairing electronic parts safely and effectively.
Maintenance and Preventative Care
Regular cleaning, oiling, and inspecting your Brother sewing machine prevents wear and tear. Replace worn parts and ensure proper thread tension to maintain optimal performance and longevity.
8.1 Regular Maintenance Tasks
Regular maintenance ensures your Brother sewing machine operates smoothly. Clean the bobbin area, oil internal parts, and check thread tension. Replace needles every 8 hours of use. Inspect belts and pulleys for wear. Dust and lint buildup can cause malfunctions, so use a soft brush to remove debris. Always refer to the manual for specific maintenance schedules tailored to your model. Consistent care extends the machine’s lifespan and prevents costly repairs.
8.2 Tips for Extending Machine Longevity
Extend your Brother sewing machine’s life with proper care. Store it in a dry, cool place away from direct sunlight. Use a protective cover to prevent dust buildup. Avoid extreme temperature changes and ensure the machine is on a stable surface. Regularly check and replace worn parts, like feed dogs or tension discs. By following these tips, you can maintain optimal performance and enjoy years of reliable service from your Brother sewing machine.
Mastering Brother sewing machine repairs empowers you to maintain and extend its lifespan. Use this manual as a lifelong guide to troubleshooting and caring for your machine effectively.
9.1 Final Tips for Successful Repairs
Always refer to your Brother sewing machine repair manual for specific guidance. Use original tools and parts to ensure compatibility and safety; After repairs, test the machine thoroughly to confirm proper function. Regularly clean and lubricate internal components to prevent future issues. If unsure, consult a professional or additional resources. Keep your workspace organized to avoid losing small parts. Patience and attention to detail are key to successful repairs. Remember, consistent maintenance extends your machine’s lifespan and performance.
9.2 Encouragement to Explore Further Resources
For deeper insights, explore Brother’s official website, ManualsLib, and sewing communities. These platforms offer extensive guides, video tutorials, and expert advice. Engage with forums where enthusiasts share repair tips and solutions. Stay updated with the latest Brother sewing machine models and accessories. Expand your knowledge by downloading additional PDF manuals and service guides. Remember, continuous learning enhances your repair skills and extends your machine’s longevity. Happy sewing and repairing!