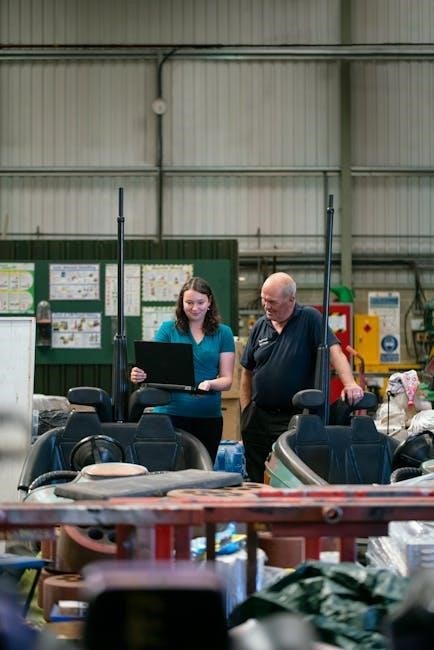
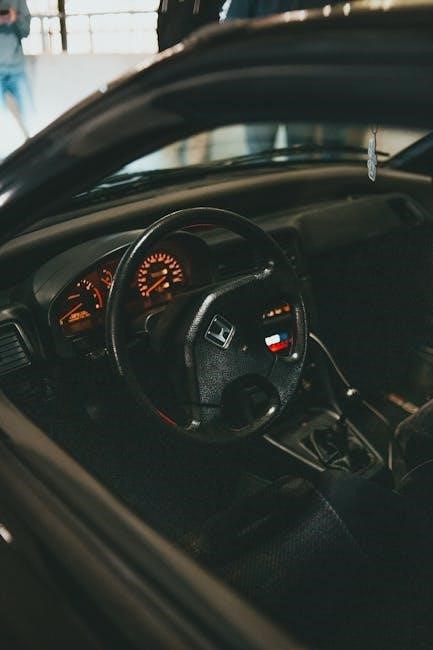
The Honda OBD2A ECU conversion from automatic to manual involves swapping the automatic ECU with a manual one, improving performance and control while addressing compatibility issues.
1.1 Overview of the Conversion Process
The Honda OBD2A auto-to-manual ECU conversion involves replacing the automatic ECU with a manual one, requiring a conversion harness to ensure compatibility. This process isn’t plug-and-play and demands careful steps to avoid errors. The manual ECU must match the engine and chassis specifications to prevent issues like error codes or VTEC problems. Compatibility is crucial, as OBD2A and OBD2B systems differ, and incorrect ECUs can lead to operational failures. While the conversion enhances performance and control, it also introduces challenges like troubleshooting and ensuring proper electrical connections. Professional assistance is often recommended for a smooth transition.

1.2 Importance of ECU Compatibility in the Conversion
ECU compatibility is vital for a successful auto-to-manual conversion. Using a mismatched ECU can cause system malfunctions, error codes, and even engine stalling. For example, OBD2A and OBD2B ECUs are not interchangeable due to differences in protocols and wiring; Ensuring the manual ECU matches the engine type and year is essential. Incorrect ECUs may fail to communicate with sensors or solenoids, leading to issues like VTEC engagement problems or transmission control errors. Compatibility ensures seamless integration, proper communication, and optimal performance, making it a critical factor in the conversion process.
Understanding the Honda OBD2A ECU System
The Honda OBD2A ECU is the brain of the engine, controlling functions like fuel injection and ignition timing. It monitors performance and emissions, enabling diagnostics and troubleshooting through error codes. Designed for both automatic and manual transmissions, OBD2A ECUs differ in wiring and programming to accommodate transmission-specific operations, ensuring proper communication between the engine and transmission systems.
2.1 What is OBD2A and Its Role in Honda Vehicles
OBD2A (On-Board Diagnostics II) is Honda’s implementation of the OBD-II standard, designed to monitor and control engine functions, emissions, and diagnostics. It plays a critical role in ensuring optimal vehicle performance, efficiency, and compliance with emissions standards. The OBD2A system processes real-time data from various sensors, such as engine speed, airflow, and temperature, to adjust fuel injection, ignition timing, and other parameters. It also enables fault detection, storing error codes for troubleshooting. In Honda vehicles, OBD2A ECUs are tailored for specific transmissions, making them essential for smooth operation, whether automatic or manual, and are often targeted for modifications like ECU conversions to enhance performance.
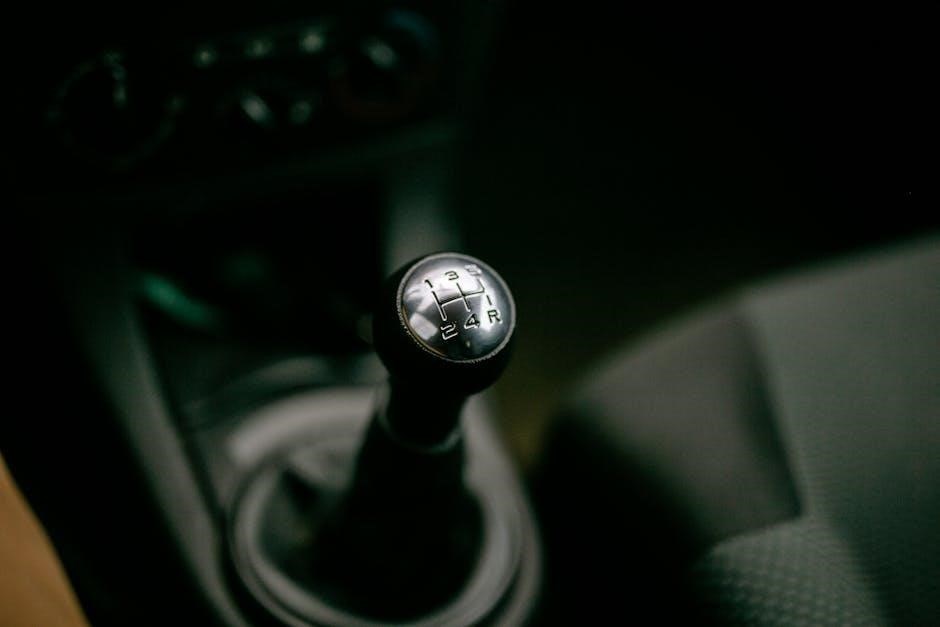
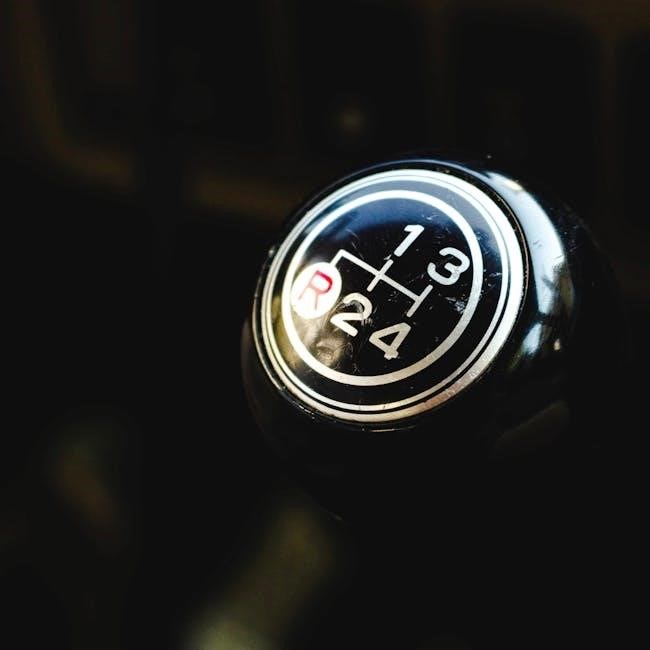
2.2 Differences Between Automatic and Manual ECUs
Automatic and manual ECUs differ in their programming and functionality to accommodate their respective transmissions. Automatic ECUs are designed to manage torque converter engagement and automatic gear shifts, while manual ECUs lack these controls but include settings for clutch and gear position sensors. Both systems share core functions like fuel injection and ignition timing but differ in how they interpret input signals. Automatic ECUs may generate error codes like code 19 if used in a manual setup, highlighting the need for compatibility during conversions. These differences make ECU selection critical for proper vehicle operation and performance.
Benefits of Converting to a Manual ECU
Converting to a manual ECU enhances engine control, improves performance, and eliminates issues related to automatic transmission error codes, offering a more precise driving experience and better compatibility.
3.1 Improved Performance and Control
Converting to a manual ECU significantly enhances engine performance and drivetrain control. By eliminating automatic transmission solenoid issues, the engine operates more efficiently, reducing the risk of error codes and performance hindrances. The manual ECU ensures proper VTEC engagement, delivering improved power delivery across the RPM range. Drivers gain better throttle response and precise control over the engine’s behavior, especially during acceleration and shifting. This conversion also allows for more flexibility in tuning the ECU to suit specific engine setups, making it a popular choice for enthusiasts seeking optimal performance and reliability without the constraints of an automatic ECU.
3.2 Cost Savings and Simplification
Converting to a manual ECU offers long-term cost savings by eliminating the need for expensive automatic transmission components. Simplifying the system reduces potential failure points, lowering maintenance costs over time. Manual ECUs are often more affordable and widely available, making the conversion a budget-friendly option. Additionally, the removal of complex automatic transmission controls streamlines the engine’s operation, reducing diagnostic challenges and repair expenses. This conversion not only enhances performance but also provides financial benefits, making it a practical choice for Honda enthusiasts seeking a more straightforward and economical setup.

Preparing for the Conversion
Preparing for the conversion involves researching the correct manual ECU for your Honda model, gathering necessary tools, and ensuring compatibility with your vehicle’s software and wiring.
4.1 Identifying the Correct Manual ECU for Your Honda
Identifying the correct manual ECU for your Honda involves checking your vehicle’s engine code, model year, and transmission type. For 96-98 models, an OBD2a 5spd ECU is required, while 99-00 models need an OBD2b 5spd ECU. Ensure compatibility with your engine, such as the D16Y8 with VTEC. Cross-referencing with Honda enthusiast forums or repair manuals can help confirm the right ECU. Always verify the ECU’s part number and ensure it matches your vehicle’s specifications to avoid installation issues.
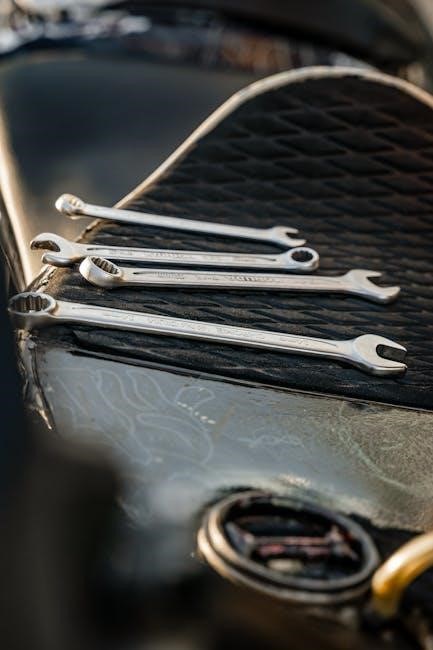
4.2 Tools and Software Required for the Conversion
The conversion process requires specific tools and software, including an ECU tester, a conversion harness, and software for reflashing or reprogramming the manual ECU. Additional tools like a soldering iron, multimeter, and wiring diagram are essential for harness modifications. Diagnostic tools such as an OBD2 scanner can help identify and resolve issues post-conversion. Ensure compatibility of software with your Honda’s OBD2a or OBD2b system. Always back up your ECU data before making changes. Consult forums or repair manuals for model-specific requirements to ensure a smooth transition and avoid potential errors during the process.
Step-by-Step Installation Guide
Replace the automatic ECU and harness with the manual ECU and conversion harness, ensuring proper connections and wiring. Use an ECU tester and soldering tools for modifications, following detailed guides to avoid errors.
5.1 Removing the Automatic ECU and Harness

Start by disconnecting the battery to prevent electrical issues. Locate the automatic ECU, typically found under the dashboard or near the center console. Carefully unplug the ECU connectors and remove the mounting screws. Gently pull the ECU out of its bracket. Next, identify the automatic transmission harness, which includes solenoid and sensor connectors. Disconnect these connectors and remove the harness from the vehicle. Be cautious not to damage wiring or connectors during removal. Once the automatic ECU and harness are removed, you can prepare for installing the manual ECU and conversion harness.
5.2 Installing the Manual ECU and Conversion Harness
Reconnect the battery and locate the mounting position for the manual ECU, typically the same spot as the automatic ECU. Secure the manual ECU using the provided screws. Next, install the conversion harness, ensuring all connectors align with the manual ECU and engine components. Connect the harness to the manual ECU, throttle pedal, and VTEC solenoid. Verify all connections are secure and inspect for any damage or misalignment. Finally, reconnect the battery and use a scan tool to clear any error codes. Test the system by starting the engine and checking for proper operation before driving.

Troubleshooting Common Issues

Common issues post-conversion include error codes, electrical connectivity problems, and ECU compatibility conflicts. Use a scan tool to diagnose codes and verify wiring connections. Ensure the harness is correctly installed and all components are compatible with the manual ECU. Addressing these issues promptly prevents further complications and ensures smooth operation.
6.1 Diagnosing Error Codes Post-Conversion
After converting to a manual ECU, error codes may indicate issues such as faulty wiring or incorrect ECU calibration. Use a scan tool to retrieve DTCs (Diagnostic Trouble Codes) like code 19, which relates to the transmission solenoid, or code 22 for VTEC issues. These codes often arise because the manual ECU lacks automatic transmission inputs. Check the conversion harness for proper connections and ensure the manual ECU is compatible with your engine. If persistent, reflashing the ECU or consulting a tuner may be necessary to resolve conflicts. Addressing these codes ensures proper functionality and prevents long-term damage to your system.
6.2 Resolving Electrical and Wiring Problems
Electrical issues post-conversion often stem from faulty or misconnected wires in the conversion harness. Common problems include incorrect pin configurations between the automatic and manual ECUs, leading to error codes. Inspect the harness for damaged or loose connections and verify that all pins are securely plugged in. Ensure proper grounding and check for blown fuses. If issues persist, consult a wiring diagram specific to your Honda model and ECU type. Correcting these electrical problems is essential for stable engine operation and preventing further damage to the ECU or other components.
Converting a Honda OBD2A automatic ECU to manual offers significant benefits, including enhanced performance, better control, and cost savings. While the process requires careful planning and technical expertise, the payoff is substantial for enthusiasts seeking improved driving dynamics. By following the outlined steps, addressing potential issues, and ensuring compatibility, owners can successfully achieve a seamless transition. This conversion not only breathes new life into older Honda models but also provides a more engaging and responsive driving experience, making it a rewarding project for those willing to invest the time and effort.